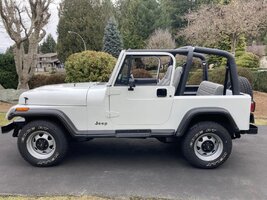
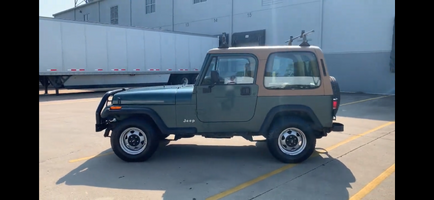
Dana 30 4.10 Rebuild
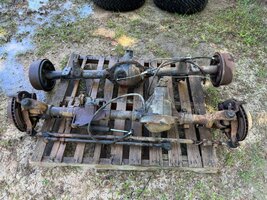
Like I mentioned in the previous post, I picked up a Dana 30 and 35 axle set (factory 2.5L manual 4.10/4.11 ratios) to rebuild and install into my YJ. They were located out North of Longview TX, a few hours away. I picked them up for $600, ordered a bunch of bearings, seals, ball joints, bushing, etc to bring them back to new running condition.
As always, they are heavy and a pain to move around. I got home with the set and had to get them out of the truck by myself. The Dana 35 isn't too bad, just remove the drums and while it's still probably 130 lbs, I was able to muscle that out carefully. The front, however, is a pig. The housing is heavy, then it had knuckles, rotors, calipers, a tie rod and steering damper, plus all the internal stuff. I had to disassemble it halfway just to get it out of the truck.
I got the axle shaft out of one side, removed the tie rod and steering damper, and then it was manageable enough to muscle it out. Still very heavy and uncomfortable.
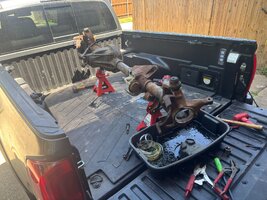
Since I had to begin the teardown to get the front out of the truck, it made sense to proceed with working on it first. I continued teardown on it that afternoon. My hands were nasty, so I didn't take too many photos, but overall, the inside of this axle was perfect. The fluid looked brand new, the gears and bearings were in excellent shape. The nastiest part was the inside of the axle tubes, outside of the seals. Thankfully those are no big deal really.
Outside didn't look too bad either.
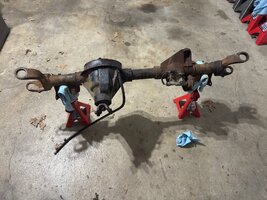
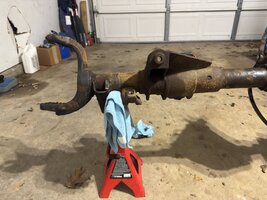
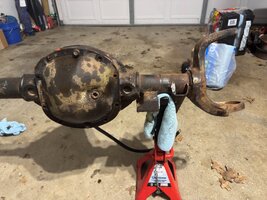
Last week, I took it out to the driveway to clean it up. There was a decent amount of gunk in the inner C area, so that's where I spent most of my time. Lots of Super Clean, scrubbing, scraping, and rinsing. After a few hours, I had the housing as clean as it would be.
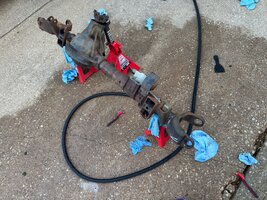
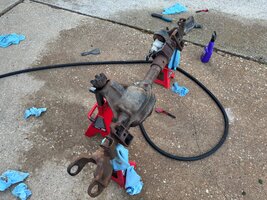
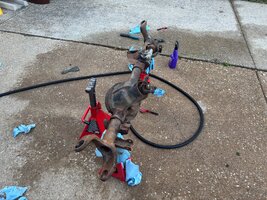
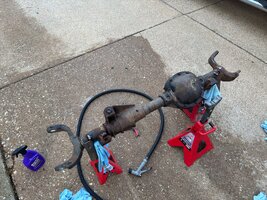
The following day, I took it back to the driveway for some needle scaling treatment. I didn't take any after photos. because I wanted to beat sunlight for rust reformer painting. Overall, I removed a decent amount of scale. Then I shot it with a coat of rust reformer. This was on Wednesday.
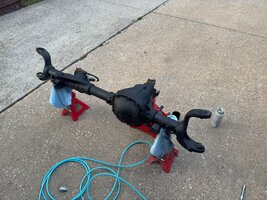
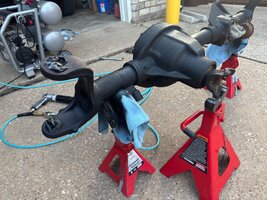
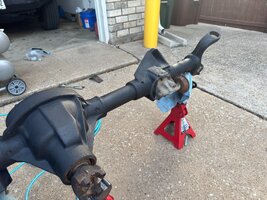
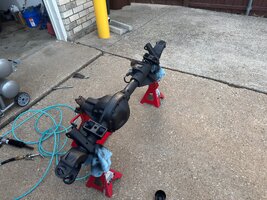
Thursday was a start to the weekend (had Good Friday off), so I shot the coats of actual paint (VHT epoxy gloss) earlier in the afternoon. While that paint dried/cured, I got started on the swap work, which carried through Thursday evening and all day Friday. I got the old axle out from under the YJ, and put it on stands next to the new axle. I then tore it down because I wanted to use the spider gears, intermediate axle shaft, and pinion yoke that were installed in it.
Final painted photos:
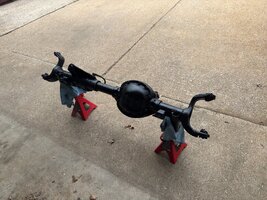
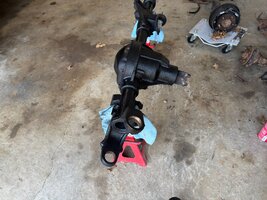
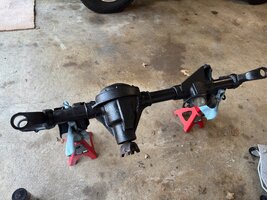
I didn't take many photos during the swap/rebuild process. Just too busy, hands too dirty, mostly stayed away from my phone and just worked.
Overall, the new axle tore down pretty easily, after all, the only thing left that was not removed before painting was the pinion. That was not difficult to remove at all, but the old seal was really stuck in the housing. That took me some time to work on, probably 30 minutes.
Got the races out, everything looked good. Destroyed the oil baffle, so I set a new one in place:
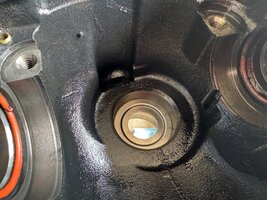
The factory sets the pinion depth with a custom thickness oil slinger, which is located between the pressed-on inner pinion bearing and pinion head. I measured my oil slinger at 0.057". The baffle also factors into the pinion depth, but they only make one baffle part number, which all axles receive. It is 0.020", for a total pinion depth of 0.077". After setting the baffle in place, I Installed the inner and outer races. The inner race sandwiches the baffle in place up against the housing.
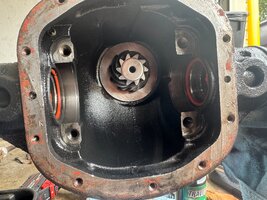
I pressed on the new pinion bearing with the old oil slinger and set the pinion into the housing (housing facing down at the time). I then slid on the pinion preload shims, followed by the outer bearing, and then installed the pinion seal. Pushed on the yoke and tightened the nut to 200 ft lbs.
Pinion ran nice and smooth. Some resistance, but not too much. Not tons of pinion preload, but this is how it was stock, so I'm sure it's fine. Maybe 5 in lbs. These end up having basically no preload once they wear in with some miles, so I have to imagine it was very similar to this same result when it was new.
Next up, was the carrier. I had previously installed Spicer net forged spider gears. They are stronger than stock and resist pitting, chipping, etc. They are an upgrade that Spicer offers for some of their diffs. They are unnecessary for what I'm doing, but I like the idea of them anyways. To get the cross pin out, I had to remove the ring gears from each carrier, so I did that and swapped the gears. Installed the ring gear back with the new gears.
One thing to note: the factory service manual recommends 70-90 ft lbs for the 3/8-24 bolts that the ring gear uses. This is much too high for a bolt of this size. More ideal is around 55 ft lbs, and red loctite. Be sure to clean out all oil out of the bolt holes when doing this.
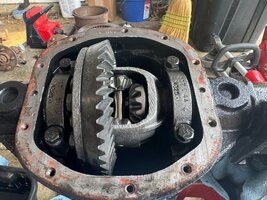
Spider gears installed in old carrier, ring gear back on, sitting in the housing. New carrier bearings were installed as well. Everything cleaned up and shiny.
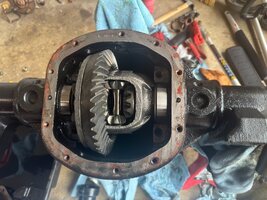
Carrier bearing caps installed and torqued to spec, 45 ft lbs. Make sure to flip the caps the correct orientation, matching the letter stamp to the housing. In this case, "K"
At this point, the axle was ready to install. I muscled it over to the Jeep, and underneath. I set it on the leaf springs that were sitting on the floor, and then lifted up one end at a time and put jack stands under the inner C's, to hold it higher than the springs. I then hooked the springs back up to the shackles and let the axle back down onto the springs.
Don't have many photos of the install, but I used all new u-bolts, nuts, spring plates, etc to reinstall the axle.
Following that, I installed Bilstein 4600 stock length shocks to replace the Old Man Emu shocks.
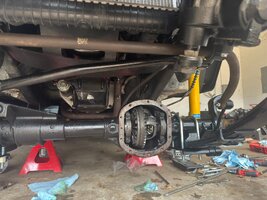
I didn't take any further photos beyond this point. The rest was installing new Spicer ball joints, the knuckles, axle shafts/unit bearings, brakes, diff cover, tie rod, track bar, and filling with fluid. Nothing crazy, just a typical front axle.
I got it buttoned up the rest of the way and put it back on all fours and went for a test drive. Since the knuckles, tie rod, and axle all come from the same setup that was stock and known to be aligned correctly, I know my alignment is now good. Of course, I will need new tie rod ends at some point, and new knuckles would clean things up nicely. But in the meantime, it handles much nicer now with the tires toe'd correctly. It returns to center somewhat, which seems about normal compared to how it used to be long ago. I recall it always needing some help to return to center, even when it was bone stock. Smaller tires will help push it back to center as well, due to the scrub radius change in the positive direction.
That's really all there is to say about the front axle. Now I'm working on the rear. It's torn down but sealed off so I can work on cleaning up the exterior. I'm going to cut off the broken track bar bracket and start working on cleanup, painting, etc here in the next few days.
In the meantime, I'll wait on my new wheels to arrive, the tires I want to be released, etc. Getting there, one day at a time...
